


Decorate with a jaunty Halloween Chenille Figure - or a few! Stand them upright, hang them from your Halloween tree, or wear them as lapel pins!
 (click here for a larger Halloween Chenille Figure image) (click here for a larger Halloween Chenille Figure image) |
These couldn't be easier: Two bump chenille rods per figure, a cut-out vintage image head, and some flashy embellishments. We particularly like the glitter encrusted candy-corn scepter.
These guys are based on our Patriotic Chenille Doll, where you'll find more tips and ideas. They also serve as decoration for the paper Halloween Treat Basket craft, so be sure to check that out!
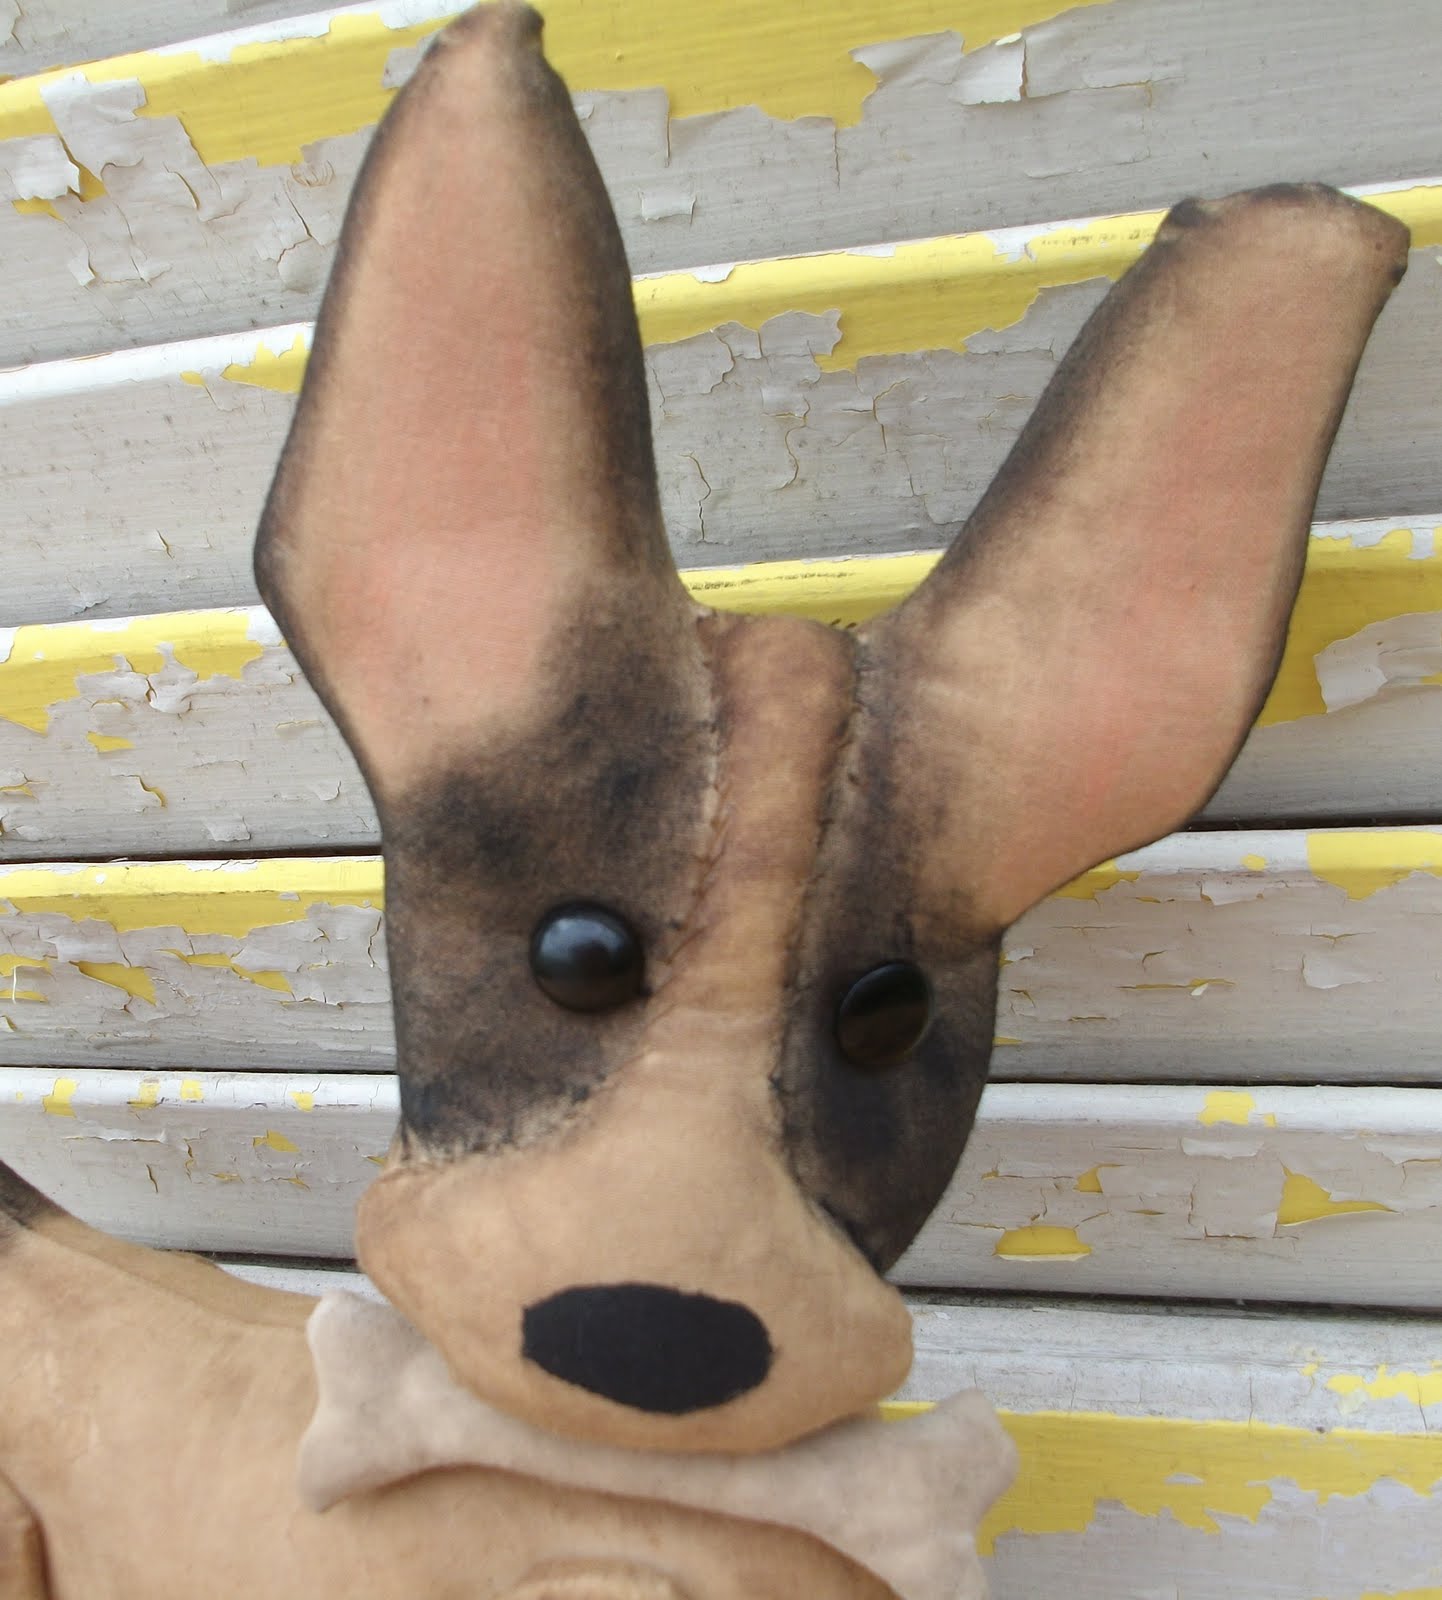
The friendly gargoyle in our photo was a souvenir from England, home to many of his kith and kin.
Materials
- Vintage images, (Free Adobe PDF download) printed on heavy matte photo paper.
Bump chenille rods, 1 1/2 rods for each doll. (Black for the cat and orange for the Jack O'Lantern)(See Tips).- Green construction paper (see Tips).
- Silver tinsel chenille rod (see Tips).
- Candy corn.
- Ultra-fine clear glitter.
- Tacky craft glue (like Aleen's) or hot glue gun.
- Gold or silver lamè braid or ribbon (optional).
- Lapel pin back (optional).
- Large sewing needle.
- Scissors (small, for cutting detail).
- Pliers.
Instructions for Halloween Chenille Figure
- Cut two 12" bump chenille rods into four 6" pieces. You will need three pieces to make one doll.
 Bend two of the chenille pieces in the center into a "V" shape. These are the legs and the arms. To form the body, bend the center of the third chenille piece around a pen (or your little finger) and twist the ends twice. This loop is the figure's head.
 Connect the arms and legs by linking the pieces in the center and twisting them together two or three times. In this photo, the head and body are at the top, and the arms and legs are below.
 Place the arms and legs on the center of the body (with the head at the top). Bend the ends at the bottom of the body between the legs and up over the shoulders, pinching firmly to attach. You should have a cute little figure with a hole for a head.
 Cut out the heads from the vintage images with small scissors. For the black cat, cut around the collar on the red line. Edge the cat's collar with glue and a dusting of ultra-fine glitter.
- Trace the Jack O'Lantern's collar template to green paper (or print directly on green paper), and cut out the collar. Outline the leaves with glue and dust with glitter. Glue the Jack O'Lantern head to the collar and let dry.
- To make a hanging ornament, tie a loop of gold cord through the chenille head loop. To make a lapel pin, glue a pin back to the back of the figure with a hot glue gun.
- Glue the heads to the chenille bodies. Clamp with clothes pins over a small piece of wax paper until the glue is dry.
- For the cat's scepter: Cut out the small pumpkin head as the topper for the cat's scepter. Wrap a tinsel rod in a spiral around a bamboo skewer or thin dowel. Carefully pull the skewer out without crushing the spiral. Glue the pumpkin to the top end (add some glitter if you wish). Place the scepter in the cat's hand, trim the bottom so it supports the cat in a standing position, and pinch the cat's hand around it.
- For Jack O'Lantern's scepter: Melt a 1/16"-deep hole in the large end of a piece of candy corn with a red-hot sewing needle (See Tips). Put a drop of tacky craft glue on the end of a tinsel rod, insert it into the hole in the candy corn, and let the glue dry. Brush a thin coat of glue on the candy corn (don't over-brush because the candy color will run) and dust with ultra-fine glitter. Place the scepter in the Jack O'Lantern's hand, trim the bottom so it supports the figure in a standing position, and bend the hand around it.
- Bend the other hand and the tips of the legs to form feet. Now bend his little arms and legs the way you like!
Tips
- Standard chenille rods are 12" long. "Bump" chenille rods are chenille rods with fluffy "bumps" every 3", or four bumps per rod.
- Silver tinsel chenille rods are not actually chenille, but a metallic or Mylar tinsel. We chose silver, but gold would be a striking option. If you can't find tinsel rods, you can use regular chenille rods.
- We used plain green construction paper for Jack O'Lantern's collar, edged with ultra-fine glitter. You might prefer to use green glitter paper, crepe paper, or whatever will give you a leaf-like effect.
- To heat the needle point, hold the needle with pliers in a stove burner flame. Hold the candy corn in a pot holder or dish towel in your other hand. Quickly press the needle point into the end of the candy corn. Any blackened sugar residue should come off the candy easily when it is cool - but it's not so easy getting the residue off of the needle so be prepared to throw it away.
 Here's some ideas: Attach your Halloween chenille figure to the handle of a small Halloween treat basket. These make great table favors, or doorknob gifts from the Office Fairy. Leave your Halloween chenille figure flat and attach him to the front of a Halloween greeting card. Hang him on your "Halloween Tree" - a spooky dead branch painted black and potted with some gravel or plaster of Paris. Decorate a grapevine wreath with chenille figures and black paper bats for your front door. Or, add a pin and wear him for Halloween!
See how this Halloween chenille figure craft adapts to the 4th of July with a Patriotic Chenille Doll!http://www.vintageimagecraft.com/
source:

 Print the vintage images on matte photo paper. Trim them carefully with small scissors. Using one cut-out image, trace the shape on the foamcore board. Cut out the shape with a craft knife. Glue the images to each side of the foamcore, aligning the tops of the images carefully. Press them flat and let dry.
 Cut a 17" length of decorative braid. This will fit around the ornament and leave 7" for a hanging loop at the top. Start at the bottom of the ornament. Glue and pin the two ends to meet at the bottom. Work up one side, gluing the braid to the foamcore edge, and pin in place every few inches. When you get to the top, begin again at the bottom and glue and pin the other side, until the braid meets at the top. Be sure the hanging loop is centered at the top of the ornament. Let the glue dry.
 Insert a beading pin into a bead, dip the point in craft glue, and insert it into the braided edge, next to the hanging loop. Continue pinning beads around the edge until you reach the other side of the hanging loop.


 Fill the bowl with candy, like the Vintage Pumpkin Lollipops below. Eat some until it all fits. Wait for trick-or-treaters to dig in!
 Starting at the rim of the candy dish or plate, cut a straight line on the radius to the center, then cut a round circle in the center of the dish, large enough to encircle the tree trunk. Twist the dish and slide it around the tree trunk. Center it on the pumpkin (you may have to make some cutting adjustments if the trunk is off-center). Tape the cut edges of the bowl together at the rim.
 Take your perfect, ugly branch and spray paint it flat black (if it is really dirty, hose it off and let it completely dry first).
  Mix a little black acrylic paint with an equal amount of water. Use an old toothbrush (or other stiff bristled brush) to splatter tiny black "fly specks" on the pumpkin (see
  Paint the entire pumpkin with medium orange acrylic paint and let it dry. Sponge on highlights of light orange acrylic paint down each of the ribs of the pumpkin and let it dry. Sponge on dark orange acrylic paint around the cheek areas and let it dry.
 When the plaster is dry and hard, empty the sand or gravel from the bottle. Remove the tape and gently pull apart the two halves of the mold. Lightly sand off any imperfections on the plaster (it will be very imperfect, which is fine, but sand off big bumps or ridges left by the mold). Wipe it gently with a damp cloth.
 Place the plastic water bottle in bottom of the mold. Mark a line around the bottle, even with the top of the mold. With a craft knife or scissors, cut off the top of the bottle above that line. Fill the bottle with sand or gravel, put some double-stick tape on the bottom, and place it in the center of the bottom of the mold (the gravel will keep it from floating up when the plaster is poured around it). Keep it centered with several pieces of masking tape across the opening of the bucket.
 Mix Plaster of Paris and water (see
  Print out the vintage images on lightweight photo paper.
 Rigid, molded plastic trick-or-treat buckets are in stores a couple months before Halloween. Try Dollar Stores and thrift shops before you pay full price. You might even have one in the attic somewhere. You want a pretty small one (ours was about 7" deep), with distinctly molded features and vertical ribbing you can feel on the inside.


